How to Transition from Cartridge Razors to Safety Razors: A Beginner’s Guide to Wet Shaving
By Harryssale | Published: 2026-05-23
Category: How-to Guides
Learn how to smoothly switch from cartridge razors to safety razors. This step-by-step guide covers essential gear, technique tips, and product recommendations for a better shave.
Making the switch from cartridge razors to safety razors can feel intimidating—but it’s one of the best decisions you can make for your skin, wallet, and the environment. Safety razors offer a closer, more comfortable shave with less irritation and significantly less plastic waste. If you’re ready to upgrade your grooming routine, this guide walks you through everything you need to know to transition smoothly.
Why Switch from Cartridge to Safety Razors?
Cartridge razors have dominated the market for decades, but they come with hidden costs. Disposable cartridges are expensive, often contain multiple blades that can cause tugging and razor bumps, and contribute heavily to landfill waste. In contrast, a single safety razor blade costs only pennies and delivers a superior shave when used correctly.
The key benefits of making the transition include:
- Cost savings: Safety razor blades are much cheaper than replacement cartridges over time.
- Less irritation: A single, sharp blade reduces the risk of ingrown hairs and razor burn.
- Eco-friendly: Most safety razors are made from metal that lasts a lifetime, and blades are fully recyclable.
- Better shave quality: With proper technique, you’ll achieve a closer shave with fewer passes.
Essential Gear for Your Safety Razor Journey
Before you start, you’ll need the right equipment. While you can get started with just a razor and blades, a few extras will make the process far more enjoyable.
1. Choose a Quality Safety Razor Handle
The handle is your main interface with the blade. Look for a well-balanced, non-slip design. A classic choice like the Harry's Original Handle offers excellent grip and weight distribution, making it ideal for beginners. Its ergonomic design helps you maintain the correct angle—typically 30 to 45 degrees—for a smooth shave.
2. Invest in a Good Shave Prep
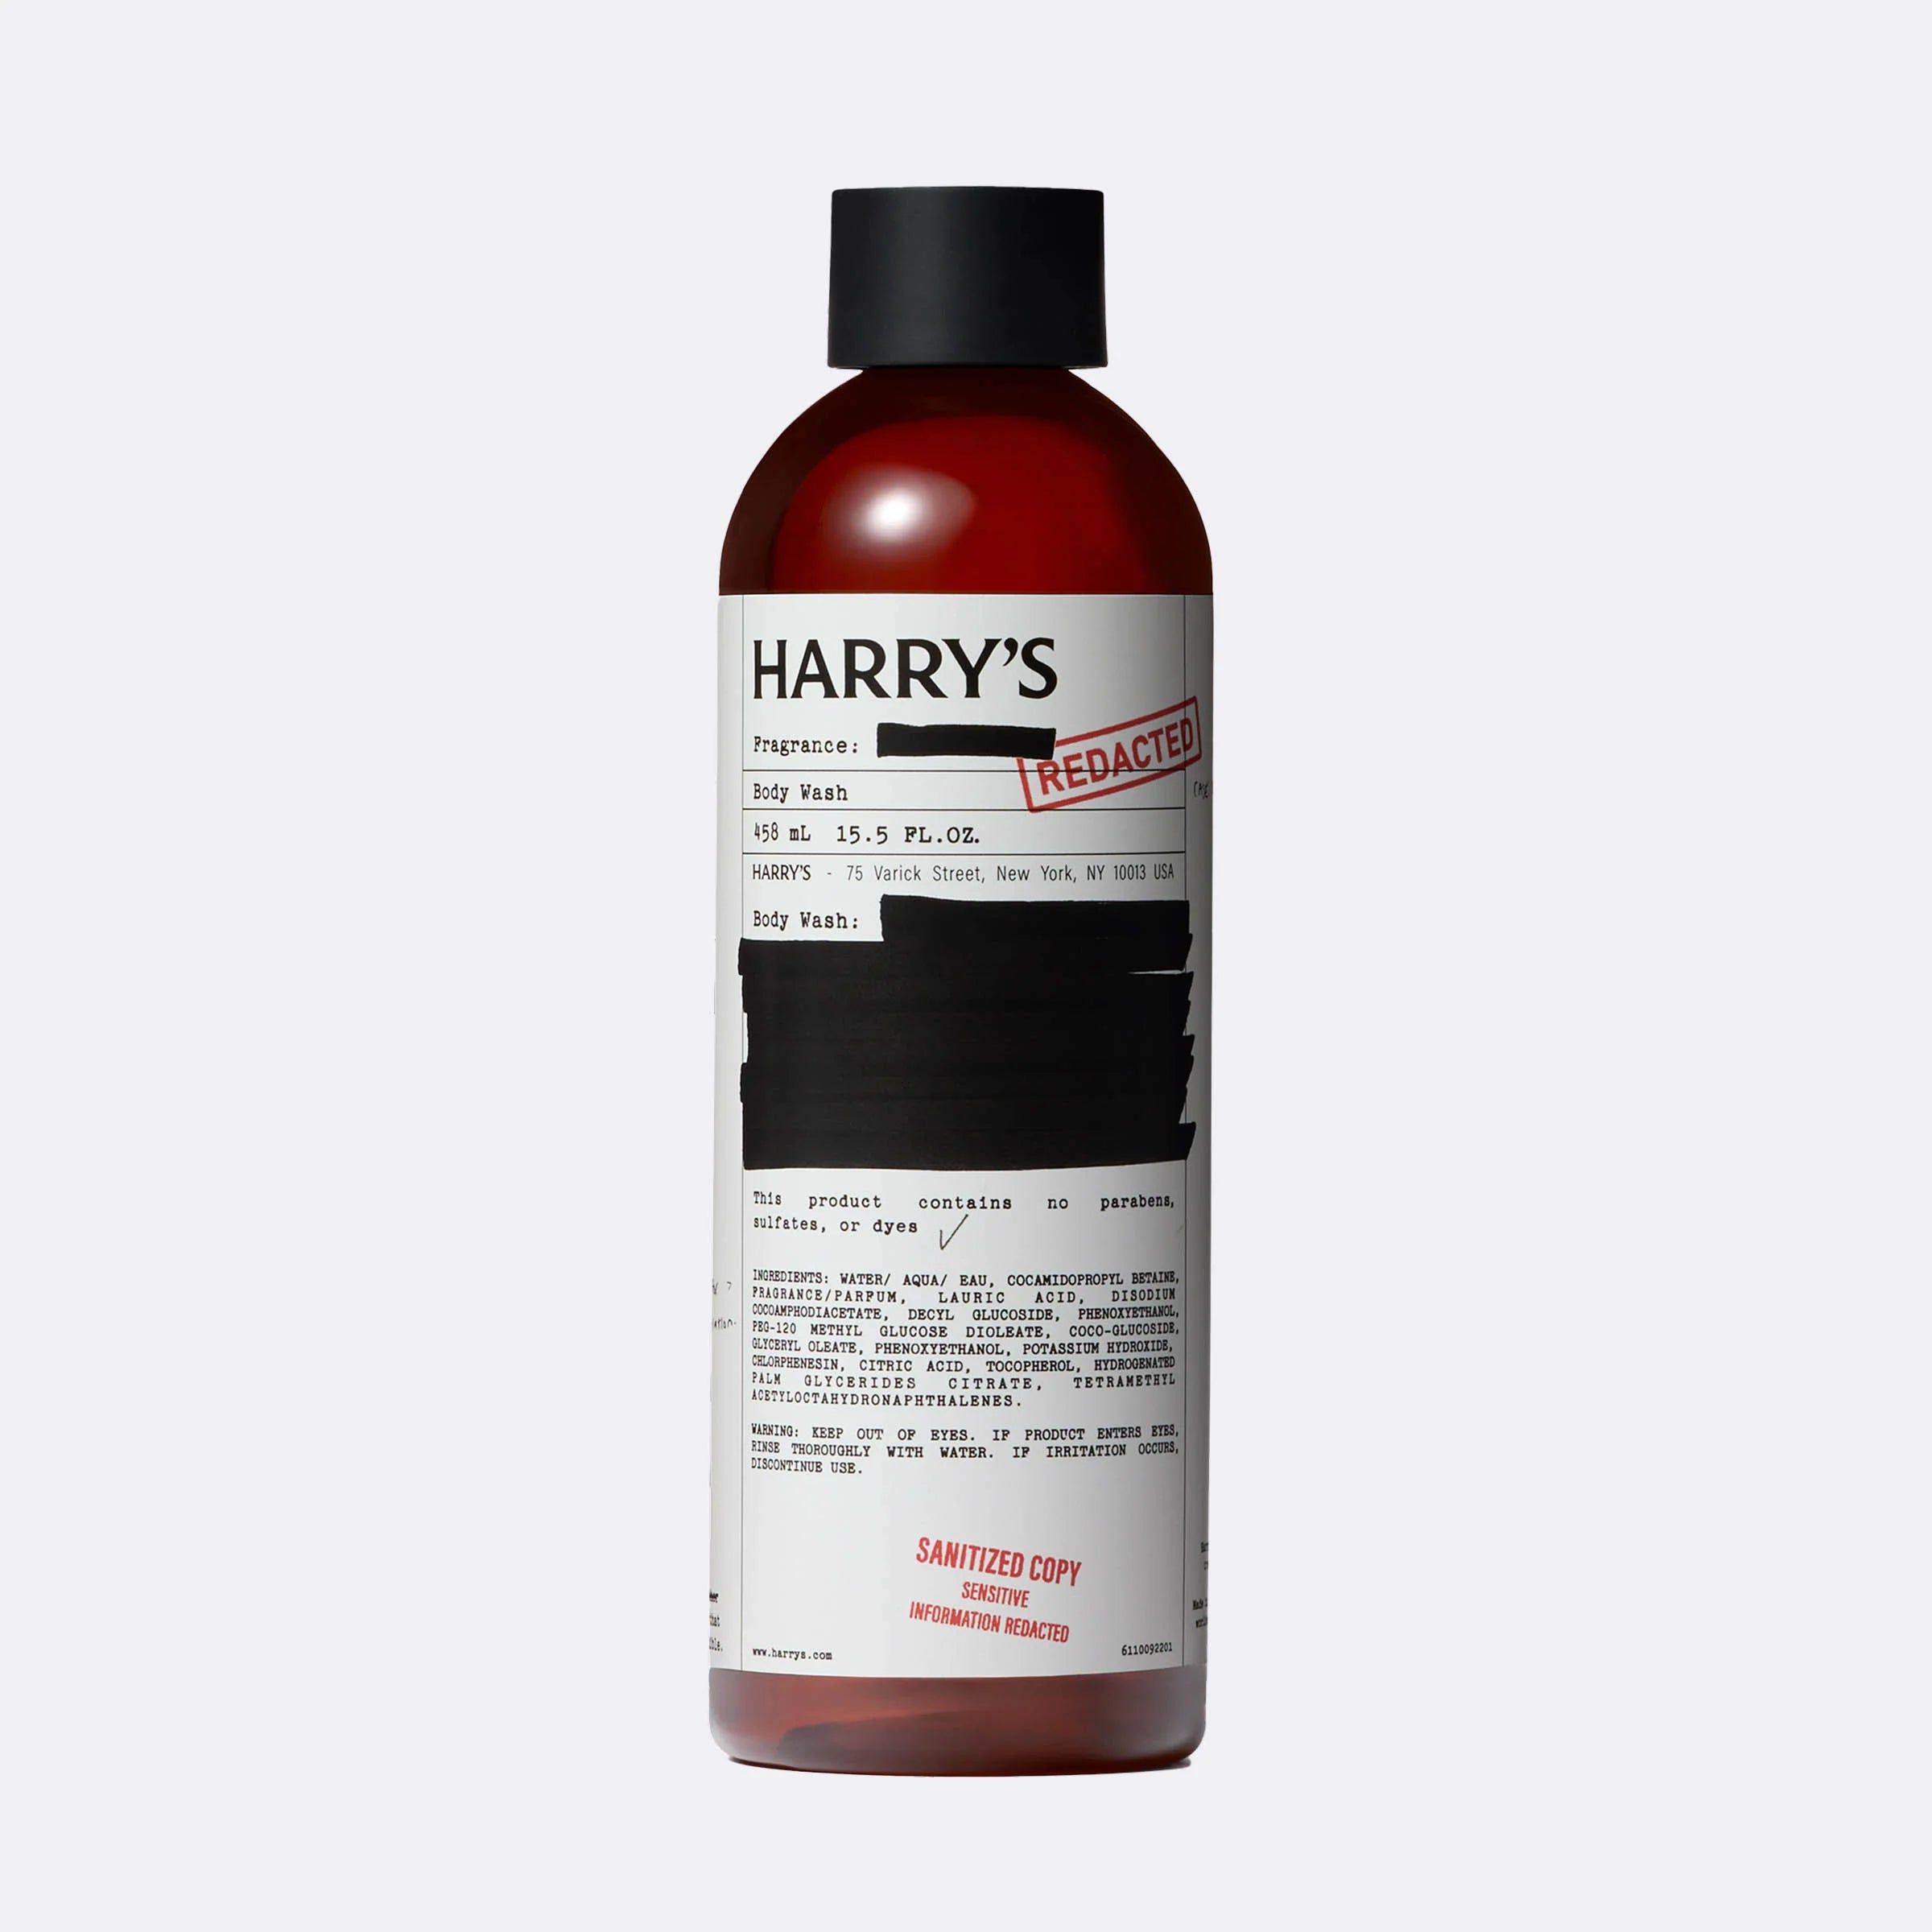
Preparation is everything. Using a high-quality shaving cream or gel that produces rich lather will cushion your skin and soften your beard. For an all-in-one solution, consider the Harry's Original 24 Blades & Shave Gel bundle, which includes both a reliable handle and a gentle shave gel. The gel’s formula is designed to reduce friction, which is critical when you’re learning a new blade angle.
3. Don’t Skip Post-Shave Care
After shaving, your skin needs soothing. A lightweight, non-greasy moisturizer or aftershave balm helps calm any irritation. While you can use any product you like, look for ingredients like aloe vera or chamomile to restore your skin’s barrier.
Step-by-Step Guide to Your First Safety Razor Shave
Follow these steps to avoid nicks and get the best results from the start.
Step 1: Prepare Your Skin
Wash your face with warm water to open pores. Apply a pre-shave oil if you have coarse hair. Then, use a brush or your hands to build a thick, creamy lather with your shave gel. Let it sit for a minute to soften the hair.
Step 2: Master the Blade Angle
Hold the safety razor so the handle points away from your face at about a 30-degree angle. If you’re unsure, start with the head flat against your skin and tilt it gradually until you hear a light cutting sound. No pressure needed—let the razor’s weight do the work.
Step 3: Shave with the Grain First
For your first pass, always shave in the direction your hair grows (with the grain). Use short, gentle strokes. Rinse the blade frequently under warm water. For a closer second pass, you can go across the grain, but avoid going against the grain until you’re very comfortable.
Step 4: Rinse and Moisturize
After shaving, rinse your face with cool water to close pores. Pat dry with a clean towel and apply a moisturizer or aftershave balm. This step seals in hydration and prevents dryness.
Common Mistakes to Avoid
Many beginners make the same errors. Here’s what to watch out for:
- Using too much pressure: Safety razors require a light touch. Pressing hard leads to cuts and irritation.
- Skipping pre-shave prep: Dry shaving or poor lather will cause razor drag and discomfort.
- Using a dull blade: Change your blade every 5-7 shaves. A dull blade pulls hair instead of cutting it.
- Shaving too quickly: Rushing increases the risk of nicks. Take your time, especially in the first few weeks.
Building a Complete Wet Shaving Routine
Once you’ve mastered the basic technique, you can expand your grooming kit. A full wet shaving routine includes pre-shave oil, a brush, a bowl for lather, and a soothing aftershave. To keep your skin healthy between shaves, consider adding a daily moisturizer or a cleansing routine.
Don’t forget that body grooming can also benefit from the same principles. For example, using a gentle Hair & Body Cleansers product post-shave can help remove any residual product without stripping your skin. This 2-in-1 cleanser is perfect for busy mornings when you want to simplify your routine.
How to Maintain Your Safety Razor
Safety razors are built to last, but they need basic care:
- Rinse the razor head thoroughly after each use.
- Dry the handle and blade with a towel or shake off excess water.
- Store the razor in a dry area to prevent rust.
- Replace blades regularly—don’t wait until they feel dull.
With proper maintenance, your safety razor can serve you for decades, making it a true investment in your grooming routine.
Final Thoughts: Embrace the Learning Curve
Transitioning from cartridge to safety razors has a learning curve, but the payoff is huge. You’ll enjoy a closer shave, save money, and reduce waste. Start with the right tools—like a comfortable handle and quality shave gel—and practice patience. Within a few weeks, you’ll wonder why you didn’t make the switch sooner.
Ready to begin your shaving upgrade? Explore the Harry's Original Handle and pair it with a premium shave gel for a seamless transition. Your skin will thank you.