How to Properly Clean and Store Your Razor for Maximum Blade Life and Hygiene
By Harryssale | Published: 2026-06-06
Category: How-to Guides
Learn the best razor maintenance tips to extend blade life, prevent rust, and improve shaving hygiene. Step-by-step guide for cleaning and storing your razor properly.
Your razor is the workhorse of your daily grooming routine, yet it's often the most neglected tool in the bathroom. A dull, rusty blade not only gives you a rough shave but can also harbor bacteria leading to irritation and even infections. Proper razor maintenance is about more than just extending blade life—it's about protecting your skin. In this guide, we'll show you exactly how to clean razor blade residue, where and how to store razor safely, and simple habits that double the lifespan of your blades.
Why Cleaning and Storing Your Razor Matters
Every time you shave, microscopic skin cells, shaving cream residue, and tiny hair fragments get trapped between the blades. If left to dry, these deposits harden, dulling the blade edge and creating a breeding ground for bacteria. Studies show that a used razor can harbor staphylococcus and other pathogens if not cleaned properly. Moreover, moisture is the enemy of steel—trapped water causes corrosion, pitting, and rust that permanently damages the blade. Regular cleaning and proper storage are the two pillars of shaving hygiene.
Step 1: Rinse Immediately After Shaving
Don't leave your razor sitting in the sink with foam and hair stuck on it. As soon as you finish your last stroke, run hot water over the blade head, rotating the cartridge to flush out debris from between the blades. A quick rinse removes 80% of the buildup. For a deeper clean, you can use a soft old toothbrush to gently brush along the blade edges—never scrub across them, as that can nick the edge.
Step 2: Disinfect the Blade Weekly
For optimal shaving hygiene, disinfect your razor once a week. Soak the blade head in rubbing alcohol (70% isopropyl) for 2–3 minutes. The alcohol evaporates quickly, kills bacteria, and displaces water. Alternatively, you can use a specialized razor cleaning solution or even a drop of tea tree oil mixed with water. Avoid using bleach or harsh chemicals that can corrode the metal or damage plastic components.
Step 3: Dry the Razor Completely
Moisture is the #1 cause of blade dulling and rust. After rinsing, shake off excess water vigorously. Then, gently pat the blade head with a soft towel (avoid wiping the blade edge directly). For best results, use a small fan or hair dryer on the cool setting to blow air through the blade gaps. Many men skip this step, but a dry blade can last 2–3 times longer than a wet one left on the counter.
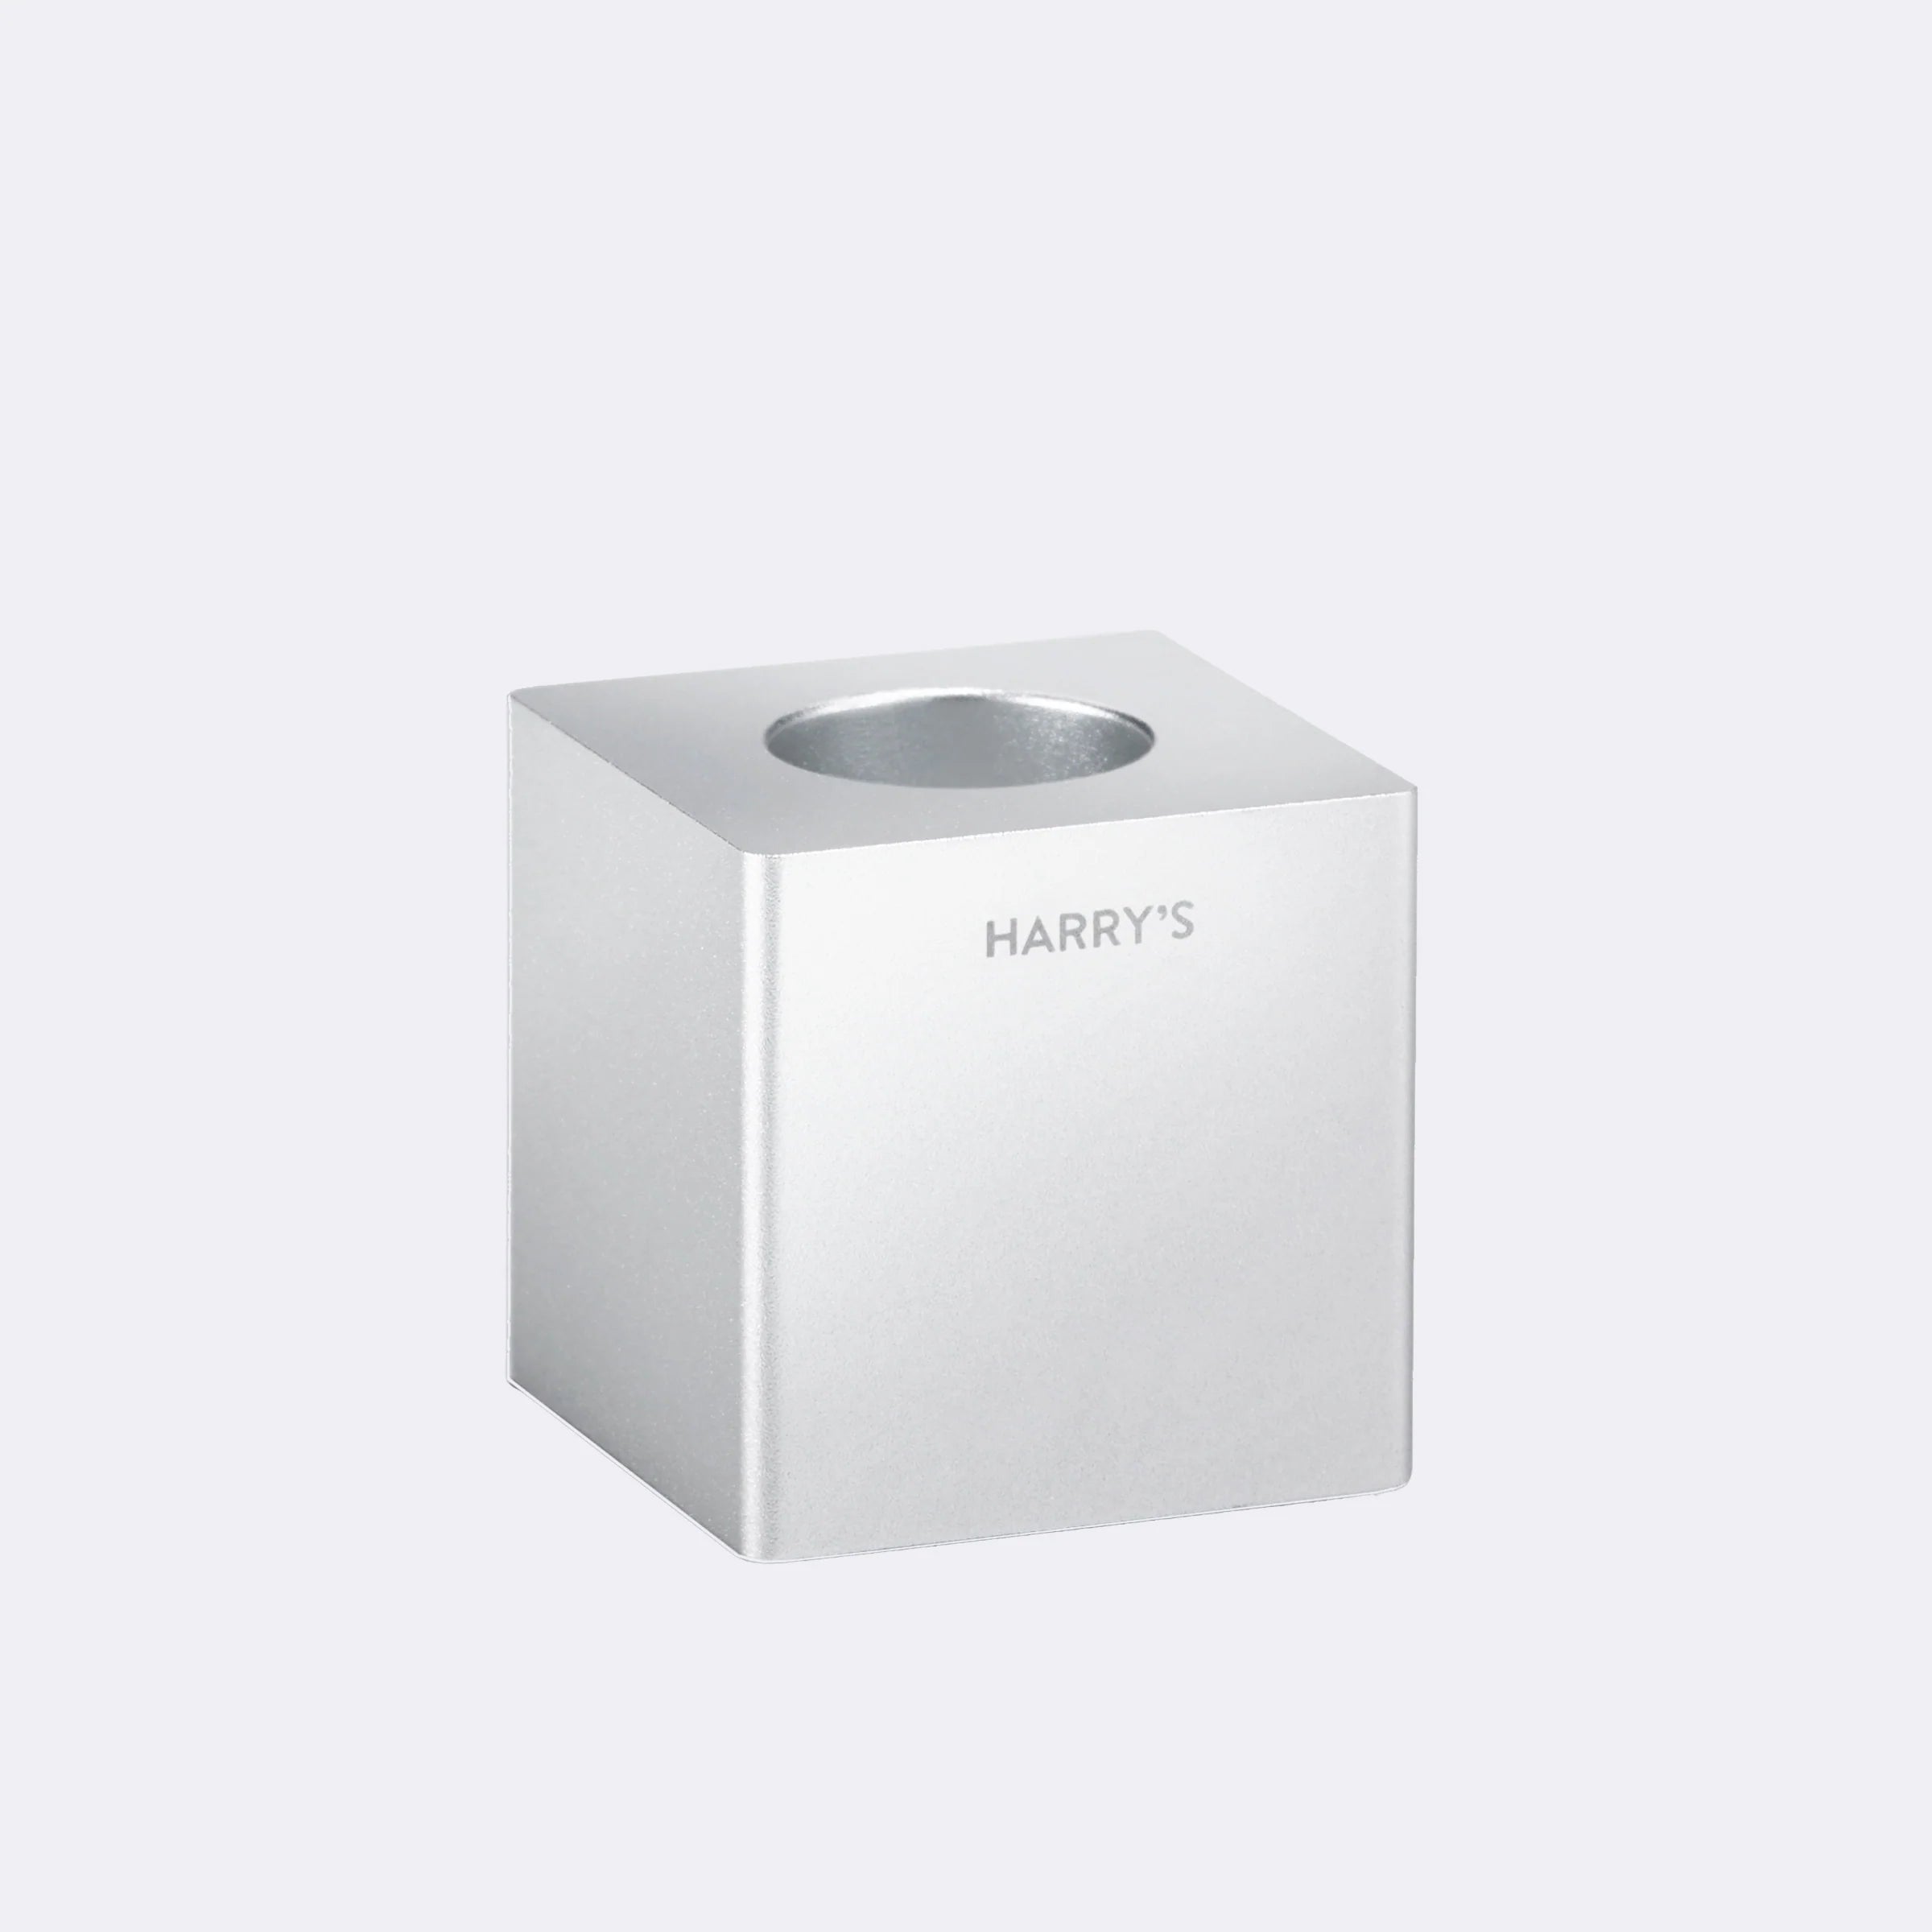
Quick Tip: Use a Blade Drying Stand
A dedicated razor stand keeps the blade head elevated and allows air to circulate on all sides. This prevents water from pooling at the base of the cartridge. If you use a modern handle, such as the Harry's Plus Handle, its weighted design and corrosion-resistant coating already help minimize moisture damage, but pairing it with a stand is even better.
Step 4: Store Your Razor in a Dry Environment
Never store your razor in a closed medicine cabinet or a damp shower caddy. The high humidity accelerates metal oxidation. Instead, keep your razor outside the shower on a countertop, windowsill, or dedicated rack. Avoid leaving it near a drafty window where it can collect dust. A well-ventilated spot is ideal. If you travel, always use a blade cover—the Harry's Plus Travel Blade Cover is designed to protect the blade edge and keep it dry in your Dopp kit.
How to Store Razor for Travel
Traveling with a razor presents unique challenges. Tucked inside a damp toiletry bag, the blade can stay wet for hours, leading to rust and bacterial growth. Before packing, make sure the blade is completely dry. Use a travel cover or a hard case that allows some airflow. If you don't have a cover, wrap the blade head loosely in a paper towel and secure with a rubber band—this wicks away moisture. Many men also find that disposable razors are a convenient travel option, but for regular use, a quality system like the Harry's Original Shave Travel Kits includes a compact case that keeps everything organized and dry.
Extra Tips to Extend Blade Life
- Strop your blades: After drying, run the cartridge backward (against the direction of shaving) along a pair of old denim jeans 10–15 times. This realigns the microscopic blade edge and can add 2–3 extra shaves per cartridge.
- Use a blade oil: A few drops of mineral oil or silicone-based razor oil on the blades after drying can lubricate the edge and prevent rust.
- Never share your razor: Sharing razors is a major hygiene risk—even with family. Blood-borne pathogens can transfer easily.
- Replace blades on schedule: Even with perfect care, blades dull after 5–7 shaves for most men. Listen to your skin: if you feel tugging or irritation, it's time for a new cartridge.
Common Mistakes That Ruin Blades Quickly
| Mistake | Why It's Bad | Correct Practice |
|---|---|---|
| Rinsing with cold water | Cold water doesn't dissolve soap and grease as well, leaving residue | Use hot water for rinsing |
| Storing in the shower | Constant humidity accelerates rust | Keep razor outside shower |
| Drying with a rough towel | Micro-scratches from fibers dull the edge | Pat dry or air dry |
| Not cleaning between blades | Hair and cream harden into a crust | Use a soft brush weekly |
| Leaving in a closed case wet | Creates a perfect environment for bacteria and rust | Dry thoroughly before closing |
Signs You Need to Replace Your Blade
Even the best razor maintenance cannot make a blade last forever. Watch for these signs that it's time to swap in a fresh cartridge:
- Tugging or pulling sensation during shaving
- Redness or bumps after shaving (a sign of micro-nicks)
- Visible rust spots on the blade edge
- Blade feels rough or has a burnt smell
- You have to go over the same area multiple times
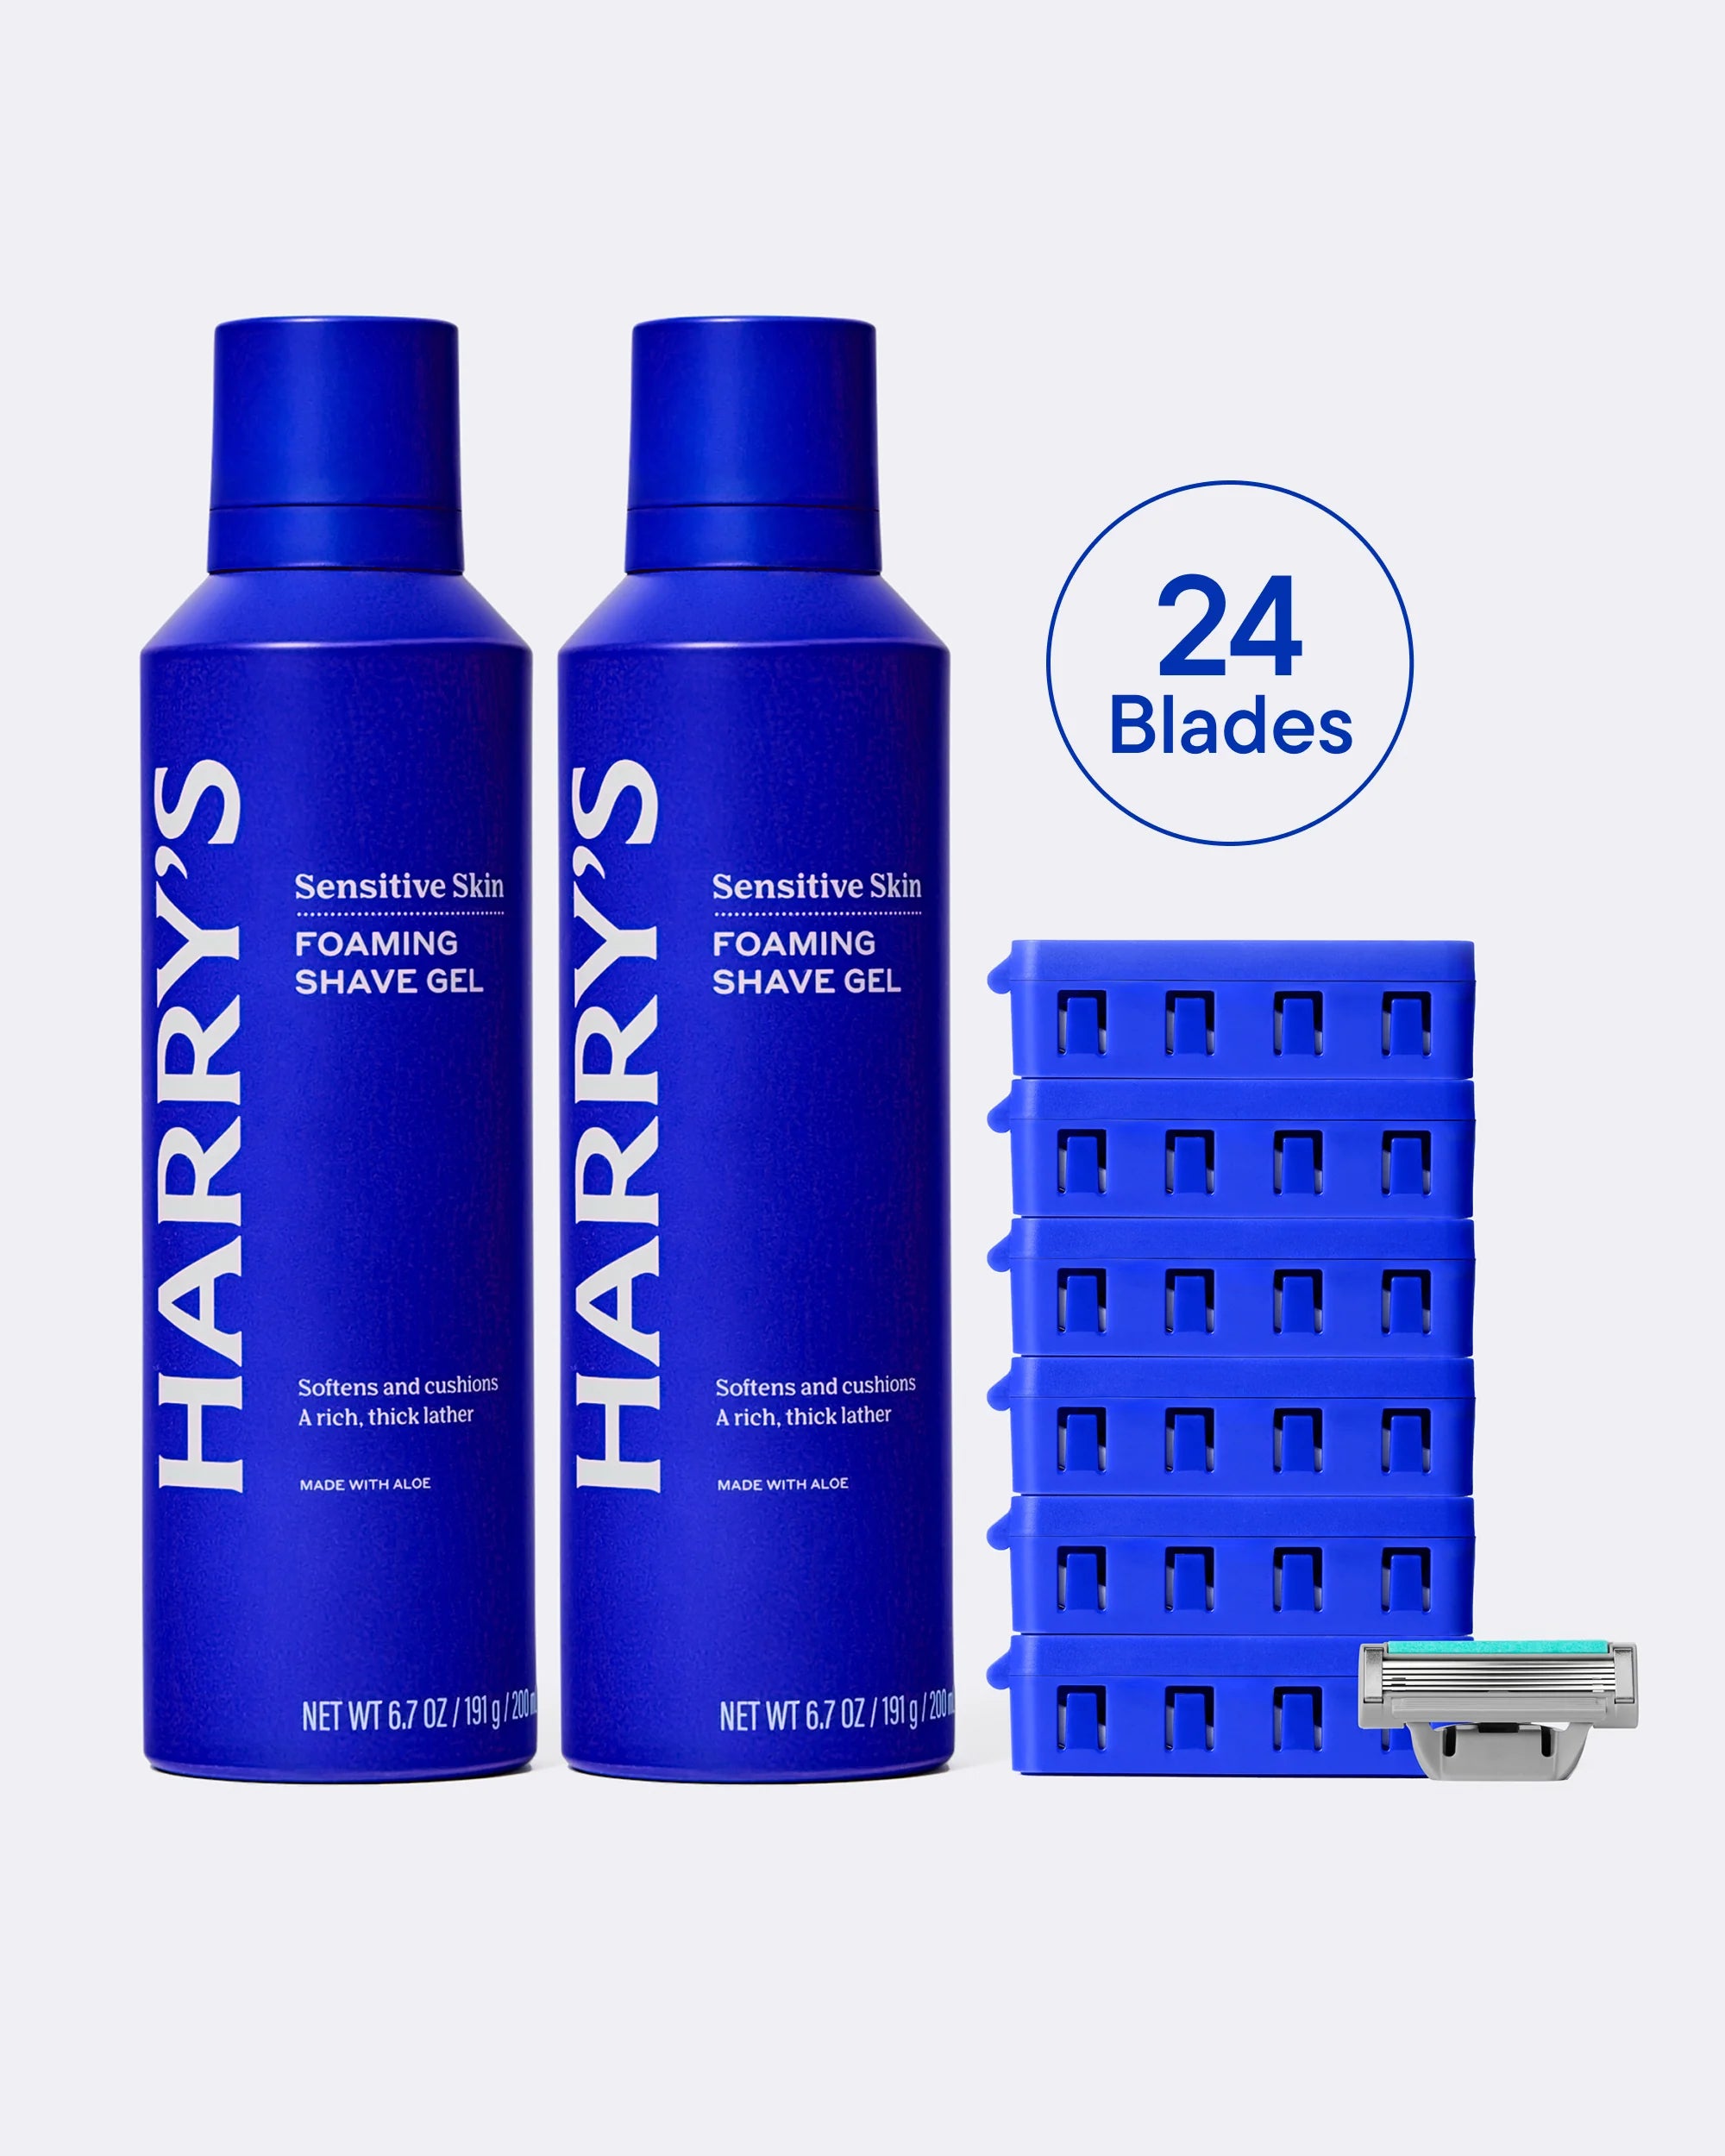
When you do need to restock, consider a value option like the Harry’s Original 7 Blade Value Pack to keep your rotation fresh without breaking the bank.
Final Thoughts: Build a Simple Routine
Adding razor cleaning and storage to your shaving routine takes less than 30 seconds per day. Rinse thoroughly, dry quickly, store dry—that's the mantra. These habits not only save you money by extending blade life, but they also protect your skin from irritation and infection. Good grooming is about the details, and your razor deserves the same care as the rest of your skin.
Ready to upgrade your shaving setup with a handle designed for easy cleaning and durability? Explore the Harry's Plus Handle today and experience a smoother, more hygienic shave every morning.